How to Use ClickUp for Solo Project Management (5 Weekly Workflows for 2026)

ClickUp’s reputation among solopreneurs is roughly: “It’s powerful but it’s a lot.” That reputation is accurate and unhelpful at the same time. Yes, ClickUp has 40+ features. No, you don’t need 40+ features. As a solo operator, you need maybe 6, and once you’ve set them up correctly, the tool gets out of your way and just runs.
I’ve used ClickUp as my project management system for about three years. I’ve watched people sign up, set up six spaces, eighteen statuses, fourteen custom fields, and quit two weeks later because the maintenance cost exceeded the productivity gain. I’ve done the opposite, kept it minimal, set up exactly the 5 workflows below, and saved roughly 4 hours a week ever since.
This article is the minimal-but-complete ClickUp setup for a solo business: the 5 workflows that earn back the $7/month Unlimited plan in the first week, plus a couple of things to deliberately NOT do.
What this assumes
You’re a freelancer, indie founder, consultant, or one-person service business. You have between 2 and 10 active client projects at any given time. You want a system that tracks what needs doing, what’s done, who owes you what, and what’s overdue, without becoming a second full-time job to maintain.
If you’ve never opened ClickUp before, do this first: sign up free, click skip on every onboarding checklist they throw at you, and land on the empty workspace. The free tier gives you unlimited tasks, kanban boards, calendar view, and 60MB of storage, plenty to start. Most solo operators end up upgrading to Unlimited at $7/month within a few weeks because it lifts the storage cap and unlocks time tracking, which is genuinely useful for client billing.
The minimal hierarchy that actually works
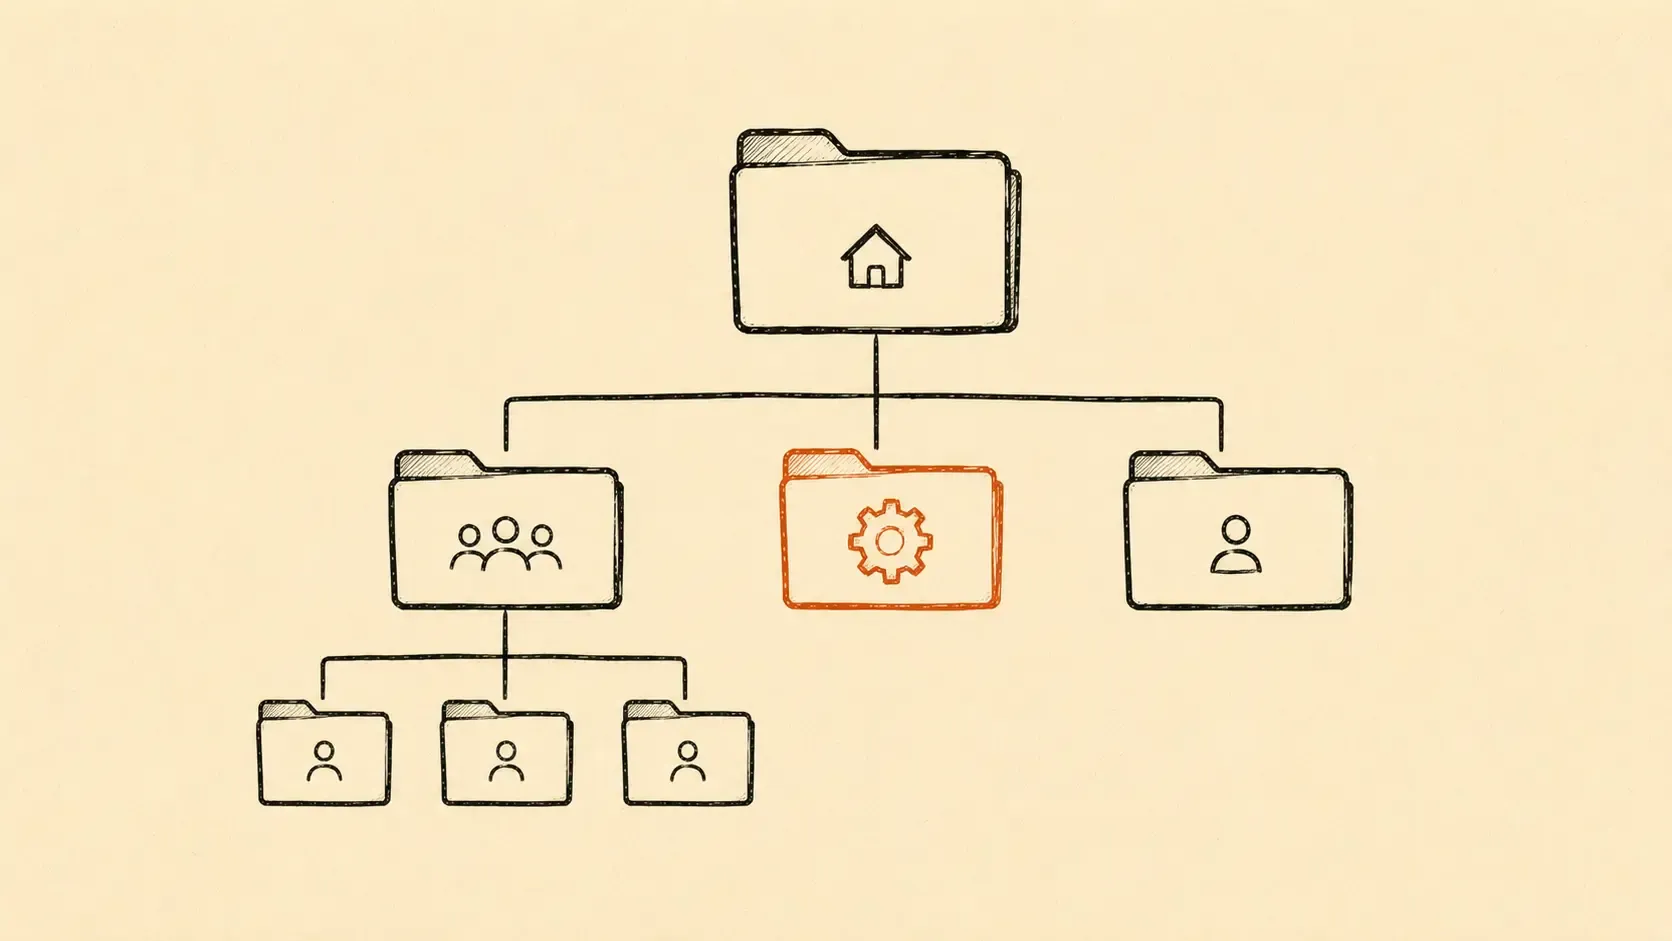
Before the workflows, set up this skeleton once. It takes 10 minutes.
Workspace (top level) → Just “Your Name’s Business” or “Toolbase Operations”, whatever fits.
Inside the Workspace, create 3 Spaces:
- Clients, every active client gets a Folder here
- Operations, your own business admin (taxes, invoicing, content calendar, sales pipeline)
- Personal, life admin you want in one place (optional but useful)
That’s it. Don’t create more Spaces. Resist the temptation to make a Space per client, per project type, per quarter, flat is better than deep when you’re solo.
Inside Clients/{ClientName}/, create a single List called “Active Tasks.” That’s where every task for that client lives. One List per client. No sub-folders.
Inside Operations/, create 4 Lists:
- “This Week” (your weekly task pool)
- “Sales Pipeline” (prospects and leads)
- “Content Calendar” (anything you publish)
- “Money” (invoices to chase, recurring expenses, tax notes)
That’s the entire structure. Eight Lists total, plus one List per active client. Anyone who tells you a “solid PM system” needs more is selling you the maintenance overhead, not the value.
Workflow 1: The Weekly Pull
The job: Every Monday morning, decide what you’re actually going to ship this week, pulled from everything sitting in your Lists.
Setup:
- Open the “This Week” List in Operations
- Click the +Add View button → choose Calendar view, rename to “This Week”
- Now switch to your client Lists one at a time and drag any task that NEEDS to ship this week onto “This Week” calendar view via the right-click → “Move to List” → “Operations / This Week”
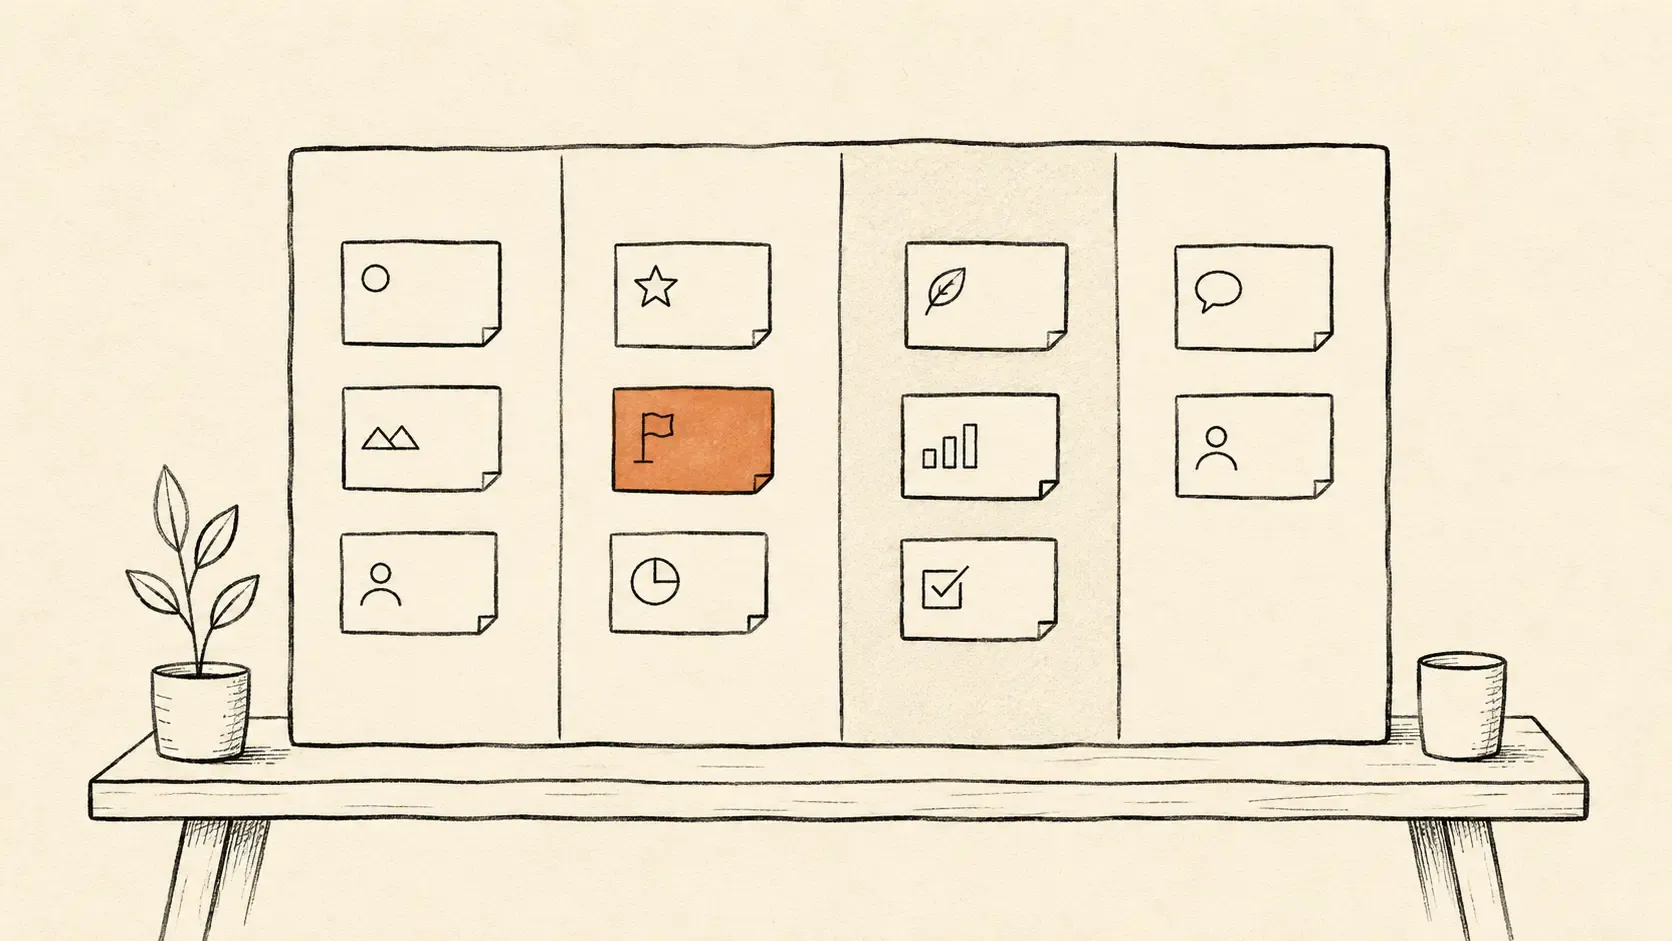
The Monday ritual: spend 15 minutes pulling 8–15 tasks into “This Week.” Don’t pull more, capacity is real. Anything not in “This Week” doesn’t get done this week, full stop. The cognitive trick is that the act of not pulling something is doing the prioritization.
Why this matters: Most solo founders either drown in a single mega-list of every task they’ve ever thought of, or have zero list at all and operate purely from inbox + memory. The Weekly Pull gives you a strict 5-day commitment that’s both visible and finite.
Workflow 2: Client task capture
The job: Capture every client request the moment it arrives so nothing falls through the cracks.
Setup:
- Inside each Client Folder, the “Active Tasks” List is your inbox for that client
- Set up ClickUp’s email-to-task feature: in workspace settings → ClickApps → enable “Email in Task” → each list gets a unique forwarding address
- Add that forwarding address as a forwarding rule in Gmail: any email from
clientdomain.comauto-forwards a copy toclient-tasks@clickup-email.com(gets created automatically as a task)
Alternative if email forwarding is too much: install the ClickUp Gmail extension. Reading an email from Acme, click the extension → “Create task in Acme/Active Tasks.” Two clicks per request.
Why this matters: Every client interaction becomes a tracked task within seconds. The pattern “client mentions thing, I forget thing, client reminds me, I look bad” disappears.
Workflow 3: The kanban for live work
The job: During the week, manage what you’re actually executing in a simple kanban view.
Setup:
- Open the “This Week” List
- Click +Add View → choose Board view, rename to “Doing”
- ClickUp default statuses (To Do → In Progress → Done) are fine, don’t customize statuses, that’s a rabbit hole
- Drag cards across as you work
The discipline: “In Progress” should never hold more than 2 cards at the same time. WIP limits are real productivity hygiene. If you have 5 things “in progress,” you have 5 things not actually progressing.
Why this matters: Most solo work happens in chunks of 90 minutes to 3 hours. The Doing kanban gives you immediate visual feedback on whether you finished something this morning or just shuffled tasks around.
Workflow 4: Time tracking that feeds invoicing
The job: Track time on client work so you can bill it accurately, without using a separate time-tracking tool.
Setup (requires Unlimited plan $7/mo):
- On any task, click the small clock icon in the right sidebar to start a timer
- When you switch tasks, the timer stops; start a new one on the next task
- At end of week: open each client’s “Active Tasks” List → switch to Time view → see total hours per task and per client
If you bill hourly, this becomes your invoice basis. If you bill fixed-price, this is your honest “did this project actually pay” check, divide your fixed fee by the hours and see your real effective rate. (We built a project quote calculator for exactly this calculation.)
Why this matters: Most solo billing is approximate (“eh, I worked on Acme about 6 hours this week, send the 6 hours”). Tracked time turns approximate into exact, which prevents the slow unconscious giveaway of 1–2 hours per project that adds up to a free month of work over the course of a year.
Workflow 5: The Sales Pipeline as a List
The job: Stop losing prospect conversations in your inbox. Stop forgetting to follow up.
Setup:
- Open “Sales Pipeline” List in Operations
- Switch to Board view
- Customize the statuses to:
Lead,In Conversation,Proposal Sent,Won,Lost - Every prospect = one task with the prospect’s name as title
- Use the task description for notes and the comment thread for the chronological log of conversations
- Set a Due Date for the next follow-up, always
The pattern that matters: Every prospect should always have a Due Date for “the next thing.” If you sent a proposal and they’re “thinking about it,” set the Due Date for 5 business days out and create the task description like “Follow up if no reply by then.” Then forget about it, ClickUp will surface it back to you on the right day.
Why this matters: Almost every solo business loses revenue to follow-up failure, not to losing in the actual sale. The pipeline view + due-date discipline catches roughly $X/year you would have otherwise let slip.
Three things to deliberately NOT do
-
Don’t use custom statuses. ClickUp lets you build 30-status workflows per List. Tempting. Wrong. The “To Do → In Progress → Done” defaults are fine for 95% of solo work. Custom statuses become maintenance overhead and reasons to procrastinate by reorganizing.
-
Don’t use ClickUp Brain (the AI add-on) right away. It’s $9/month extra and the marketing makes it sound essential. For solo work in your first 6 months on ClickUp, the AI is solving problems you don’t have yet. Add it later if you genuinely hit a workflow it would solve, most solo operators never do.
-
Don’t try to put your entire calendar in ClickUp. ClickUp can show calendars; it doesn’t replace Google Calendar or Apple Calendar. Use ClickUp’s calendar view for tasks, not appointments. They’re different objects.
Free tier vs Unlimited: when to upgrade
The Free Forever plan gets you very far. Unlimited tasks, kanban, calendar, in-app video recording (for quick walkthroughs), 60MB storage. You can run this entire 5-workflow system on Free.
The reasons most solo operators upgrade to Unlimited at $7/month within a few weeks:
- Time tracking (which underpins Workflow 4, billable hours) is paid-tier only
- 60MB storage fills up fast if you attach files to tasks
- Goals are unlocked at Unlimited if you want quarterly tracking
- Custom fields beyond 60 in a List unlocks at Unlimited
- Integrations are richer at Unlimited
If you’re billing clients hourly, the $7/month pays for itself the first time you accurately bill a half-hour you would have otherwise forgotten.
How to actually start this week
If you’ve never used ClickUp:
- Today: Sign up free → set up the skeleton hierarchy (10 min)
- Today: Create one Client Folder for your most active client → put 5 of their open tasks in
- Today: Pull 3 of those tasks into “This Week” Operations List
- Friday: Run a 10-minute end-of-week review, what shipped vs what didn’t
- Next Monday: Run the Weekly Pull ritual properly with the whole client roster
The first week is about establishing the rhythm. The next 50 weeks are about not having to think about it.
The bigger point
ClickUp’s power is real and ClickUp’s complexity is also real. The mistake is assuming you need to engage with the full surface area. You don’t. Use 8 Lists, 3 Views, and 5 workflows. Ship every Friday with a clean kanban. Pull a tight list every Monday. That’s a complete solo project management system, and it costs $7/month plus an hour of setup.
Most solo operators don’t fail at ClickUp because the tool was wrong. They fail because they over-configured it before they ever did any actual work in it. Don’t be that person. Start with the minimum, run for two weeks, and only add a feature when you’ve felt the absence of it twice in the same week.
Next up: how to build a frictionless client onboarding system using Calendly + Stripe + Notion. Subscribe to the blog so you don’t miss it.
This post contains affiliate links. We only recommend tools we’d use ourselves, ClickUp is what I actually run my own client work in.